Hippie pants are a comfortable and versatile fashion choice that has been popular for decades. If you’re looking for a new DIY project or want to add a personal touch to your wardrobe, making your own pair of hippie pants is a fun and easy option. Here are four steps on how to make your own unique pair of hippie pants:
Choose Your Fabric
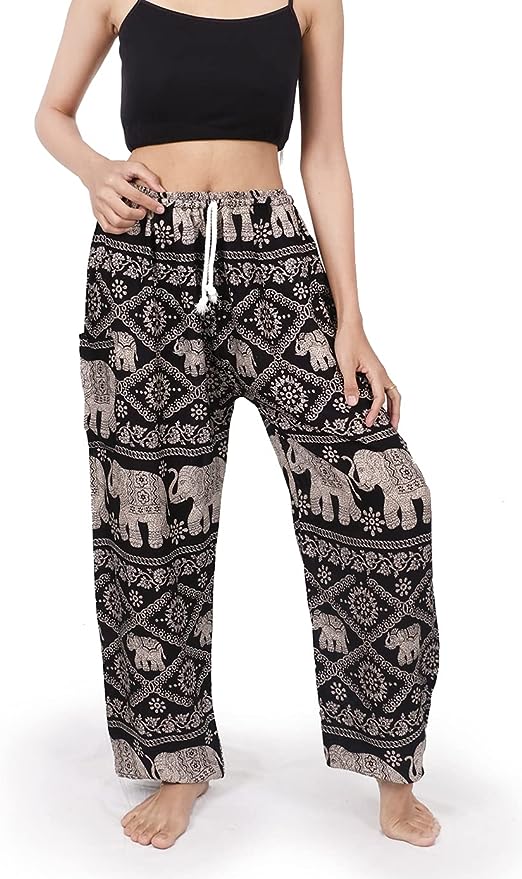
The first step in making your own pair of hippie pants is to choose your fabric. Look for lightweight and breathable materials, such as cotton or linen, that will provide comfort and flexibility. You can also choose fabrics with bold and colorful prints or patterns to add a unique touch to your pants.
When choosing fabric, it’s essential to choose enough to create a comfortable and flowing pair of pants. The amount of fabric you need will depend on your size and the style of pants you’re making. It’s best to measure yourself and create a pattern before purchasing fabric to ensure you buy enough.
Create a Pattern
Once you have your fabric, the next step is to create a pattern. You can use an existing pair of pants as a template or create a pattern from scratch. If you have a pair of pants that you love the fit of, you can trace the shape of the legs onto paper and then add a waistband. Alternatively, you can create a pattern from scratch by measuring yourself and drawing out the shape of the pants onto paper.
When creating your pattern, keep in mind that hippie pants are meant to be flowy and comfortable. The legs of the pants should be wide and loose, and the waistband should be elastic to provide flexibility and comfort.
Cut and Sew Your Fabric
Once you have your pattern, it’s time to cut and sew your fabric. Lay your fabric out on a flat surface, and then place your pattern on top. Use fabric scissors to cut around the pattern, leaving extra fabric at the edges for seams.
Next, sew the seams of the pants together. Start by sewing the legs together, and then add the waistband. The waistband should be elastic, so sew a pocket at the top of the waistband and insert the elastic. Once the elastic is in place, sew the pocket shut.
Finally, hem the bottom of the pants to your desired length. You can leave them long for a more traditional hippie look, or hem them shorter for a more modern style.
Add Embellishments
The final step in making your own unique pair of hippie pants is to add embellishments. You can add ribbons, beads, or patches to your pants to give them a more personalized touch. You can also use tie-dye or batik techniques to add color and pattern to your fabric.
When adding embellishments, it’s essential to keep in mind the overall look you want to achieve. If you want a more bohemian style, try adding brightly colored ribbons or beads to the waistband or hem. If you prefer a more understated look, use a subtle pattern or color for your fabric and add a few small patches or beads to the legs of your pants.
In conclusion, making your own pair of hippie pants is a fun and easy DIY project that can add a personal touch to your wardrobe. By choosing your fabric, creating a pattern, cutting and sewing your fabric, and adding embellishments, you can create a unique and personalized pair of pants that reflect your personal style. So, grab your fabric and get started on your own DIY hippie pants project today!